How To Build a DIY Natural Stone Firepit Using a Natural Stone Supplier
Indiana in the fall is a beautiful thing. Who doesn’t love sitting by an outdoor fire, talking with friends and loved ones on a cool, autumn night? Well, get your favorite adult beverage ready for entertaining at your place this weekend. In this post, Garrity Stone, Inc. explains how to build a DIY natural stone firepit that will impress your neighbors and please your family.
1. Select and Buy the Natural Stone
The first step in building a DIY natural stone firepit is to select from a variety of natural stone for the project. Building stone, flagstone, granite, and limestone all provide durable building materials that are also pleasing to the eye. Once you’ve selected the stone and know how much you need, contact Garrity to place an order. As a supplier, we provide the materials but not the work. You can always pick up the materials, but we also offer delivery to make your life a little easier.
2. Create the Base and Footing
Pound a piece of rebar right into the ground in the exact center of where the firepit goes. Then, cut a string equal to half the pit’s diameter in length. Next, attach one end of the string to the rebar to create a type of protractor. Then, spray paint a circle around the rebar using the string attached to the rebar as the guide. Finally, dig up the earth inside the paint line about six inches deep.
Now, unloop the string from the rebar and cut it down by the amount of the firewall thickness. So, if the wall is eight inches thick, cut off eight inches of string. Then, re-attach the string to the rebar and spray paint another, smaller circle using the string as a guide for the paint.
Next, spread wet cement between the inner and outer circles. Add the wet cement until it’s about an inch below the ground surface. Finally, pound two-foot rebars into the wet cement sporadically around the circle. Pound the rebar down until it’s completely covered, and allow the cement to dry.
3. Build the Fire Brick
Lay the first layer of natural face stone, then apply mortar along the inside edge using a trowel, before laying a fire brick to it. Next, trowel more mortar to the edge of the fire brick, and butt another fire brick along its edge and against the mortar on the fire pit’s inside edge. Continue the process until the layer is complete, check for symmetry, and level.
4. Build the Wall
Continue building the wall as described in step three, alternating between natural face stones and fire bricks, until you reach the desired height of the fire pit by alternating layers of face stone and fire brick until the desired height is reached.
5. Insert the Capstones
Once you achieve the DIY natural stone firepit height you’d like, add mortar all around and along the top edge. The mortar should cover the top of the face stones and the fire brick. Then, lay capstones around the top edge, being careful to select captstones that fit together well. Finally, fill in any gaps with mortar and smooth it out, removing any excess as it dries.
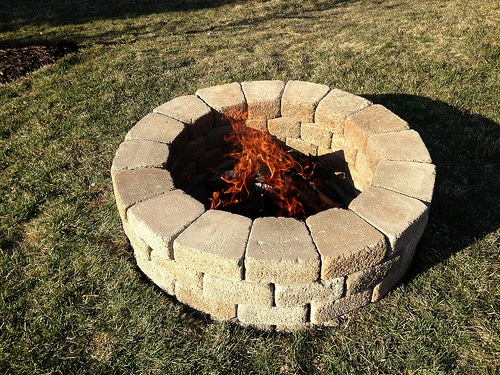
6. Enjoy!
After everything completely dries, you can enjoy the firepit. That is, of course, unless you get inspired and want to tackle other projects, like a retaining wall or patio.
Indianapolis’ Natural Stone Supplier
As a locally owned and operated business serving Indianapolis, we love the city. It’s our pleasure to provide you with quality natural stone at a competitive price. Contact us online or call (317) 546-0893 to learn more.